Hoover Bagged Tempo Upright Vacuum Cleaner User Manual
Browse online or download User Manual for Vacuum cleaners Hoover Bagged Tempo Upright Vacuum Cleaner. Hoover Bagged Tempo Upright Vacuum Cleaner User's Manual
- Page / 12
- Table of contents
- BOOKMARKS
Summary of Contents
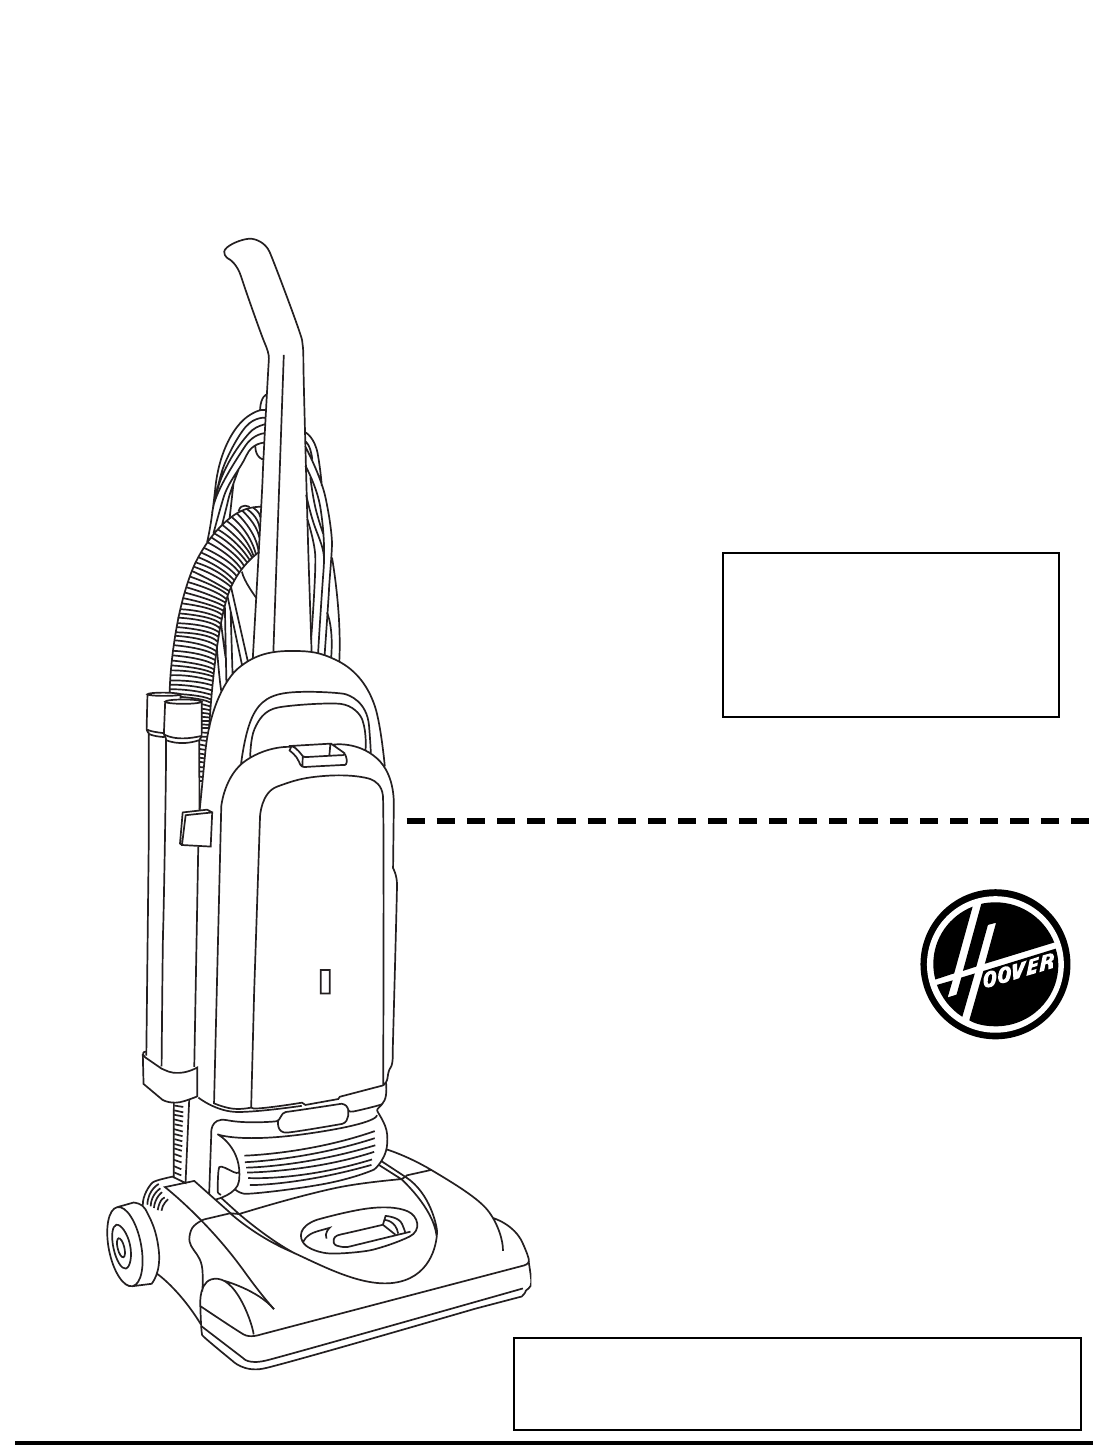
Thank you foryour purchase!®This product was designed foreasy assembly (see page 3)www.hoover.comENGLISH ➜ pp. 1-12ESPAÑOL ➜ pág. 13-20FRANÇAIS ➜ pág.
103-93-10Remove agitator brush rollRemove agitator and used belt.Discard used belt. Replace lens - Reposition lens andsecure with the two screws.How t
11ServiceTo obtain approved HOOVER serviceand genuine HOOVER parts, locate the nearest Hoover Factory ServiceCenter or Authorized Hoover Warranty Serv
Clearing blockagesDisconnect cleaner from electricaloutlet.Low suction or pick up may be due to ablockage in the system. Refer to the fol-lowing steps
2Thank you for choosing a HOOVER product.Please enter the COMPLETE model and serial numbers in the spaces provided.The numbers are located on the bott
31. Cleaner AssemblyIf you need any assistance:Visit our website at www.hoover.com. Click on the “Service” button to find the service outlet nearest y
4Align end of hose with projections(A) over slots (B) in dirt duct.Slide hose into duct (B) and twisthose to lock it into place.Snap ends of dusting b
5Continued ➜1. Handle2. Hose3. ON/OFF switch: locatedon left rear corner ofcleaner body4. Carrying handle5. Bag door6. Check bag indicator7. Stair cle
Handle positionFor ease in sliding knob, place handlein the upright position (C).The nozzle will not move into theadjusted position until the cleanerh
7Cleaning lightweightflexible rugsStand on one end of rug and movecleaner toward other end or edge. Before reaching edge, push down onhandle. This wil
3. MaintenanceWhat to buyTo assure cleaning effectiveness, useonly Genuine Hoover® Allergen FiltrationType Y disposable filter bags.Changing filter ba
9ASecondary and finalfiltersCleaning secondary filterDisconnect cleaner from electricaloutlet.The secondary filter (A), located behindthe grill in the
Related products and manuals for Vacuum cleaners Hoover Bagged Tempo Upright Vacuum Cleaner
 (16 pages)


 (2 pages)
(16 pages)
(20 pages)
(16 pages)
(2 pages)
(16 pages)
(20 pages)
(16 pages)
© 2020, manymanuals.com. All rights reserved. | 2.055 s |
 Manymanuals.com
 Manymanuals.de
 Manymanuals.fr
 Manymanuals.it
 Manymanuals.pl
 Manymanuals.cz
 Manymanuals.es
 Manymanuals-pt.com
Comments to this Manuals